How To Clean a CD Player In Your Car
Over time, dust and dirt can build up inside your car’s CD player and laser lens. This can cause issues with reading CDs, skipping tracks, getting errors, or problems ejecting discs. Cleaning out the inside of your car’s CD player can help reduce these frustrating problems. Here is a step-by-step guide on how to clean a CD player in your car:
Supplies Needed
- Clean microfiber cloth
- Cotton swabs
- Isopropyl alcohol
- Can of compressed air
- Soft toothbrush
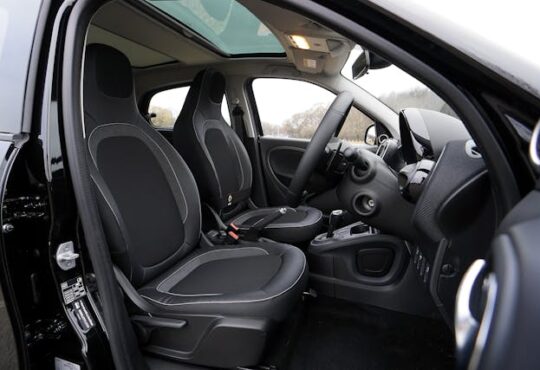
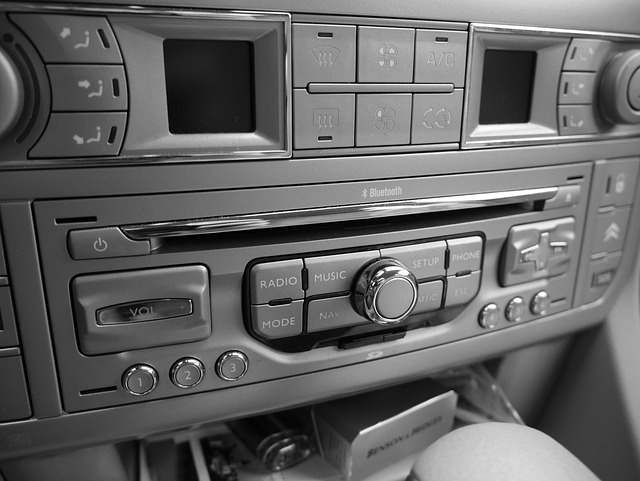
Step 1 – Remove the CD Player Start by locating the CD player unit in your car’s dashboard. In most vehicles, you can access the player just by popping off the decorative front panel surrounding it. Check your owner’s manual if you need help with safe removal. Disconnect any cables connected to the player if possible. Take the unit fully out to clean the laser lens and components.
Step 2 – Dust Outside and Vents
Use short bursts of compressed air to dislodge dust, dirt, and debris on the outside vents and casing of the CD player. Make sure not to tilt the can of air – hold it straight up and down to avoid spraying out excess propellant. Gently wipe down the outside of the unit with a microfiber cloth dampened slightly with isopropyl alcohol.
Step 3 – Clean Laser Lens The dirtiest component is often the laser lens inside that reads CDs. Dip a cotton swab in alcohol and rub gently across lens surface to remove stuck-on grime and dust. Rotate cotton swabs to expose clean edges for best results. Let lens fully dry before inserting player back in.
Step 4 – Clean Gears and Rollers Reach cotton swabs and soft toothbrush into the gear and roller areas that make contact with inserted CDs to lift debris. Apply some alcohol to help break up stickiness or grease then gently scrub clean. Compressed air also works well for forcing out embedded specks in tight crevices.
Step 5 – Erase Error Codes After fully cleaning components, reconnect player and turn your car stereo on. The player may still flash error codes from past dirty track readings. Push your stereo’s “Reset” button, then “Eject” any phantom discs showing errors. This should clear out codes and let you use cleaned player properly again.
Step 6 – Prevent Future Build Up When not using your car’s CD player for extended periods, keep the empty loader open with no disc inserted. This prevents dust particles from settling directly on the laser lens lens or rollers while parked in garages and driveways. Storing CDs in protective sleeves helps reduce scratching.
Regularly cleaning your car’s CD player extends the life of the stereo system and enhances functionality. Just by using compressed air, alcohol, cotton swabs, a toothbrush, and a few minutes, you can remove accumulated grit and get your player smoothly reading music discs once more. Keep this guide handy so you remember how to clean and maintain y